</p>
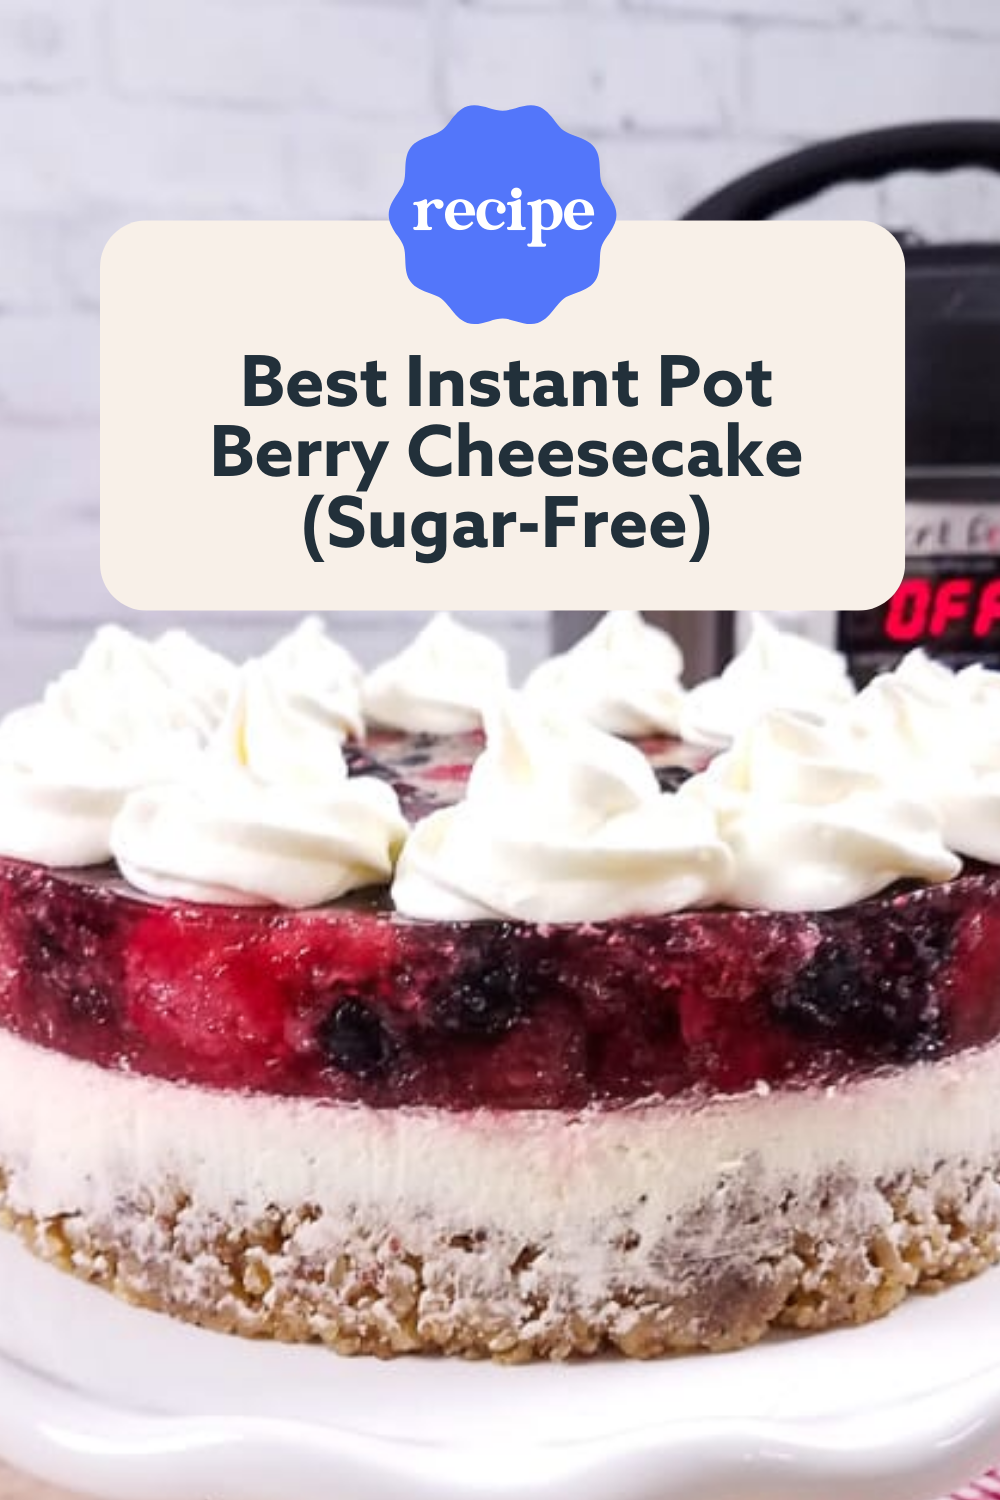
Smooth and creamy Instant Pot Berry Cheesecake (5g net carbs) is sugar-free and low-carb so it’s the healthy dessert of your dreams.
Let me show you how it’s even easier than cooking cheesecake in the oven.
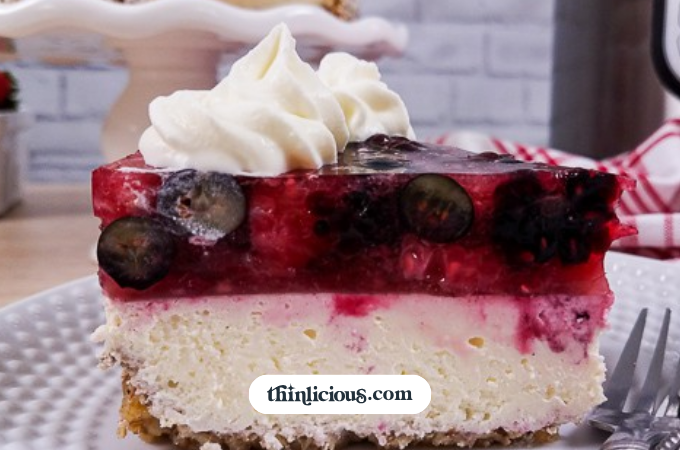
Best of all, it can be made ahead of time and is covered with a sugar-free berry jelly topping.
Are you ready to lose weight and heal your body for life (without dieting, drugs, or making yourself miserable)?
Our free on-demand video training will walk you through how to make this THE year you set health goals…and keep them.
If you love delicious keto desserts these are the 34 best keto desserts made with cream cheese (you have to try).
What is an Instant Pot cheesecake?
Making a cheesecake in the Instant Pot actually requires fewer steps than cooking a cheesecake in the oven. You don’t need to bake a crust, make the filling, bake the filling in a water bath, protect the top, then the cheesecake filling inevitably splits.
The Instant Pot is a wonderful tool for making a cheesecake. A steam bath is created inside the Instant during the cooking process which results in a thick, melt in your mouth, creamy cheesecake.
Fresh berries are one of my favorite cheesecake toppings. I love the combination of flavours, and the natural sweetness the cheesecake derives from the berries.
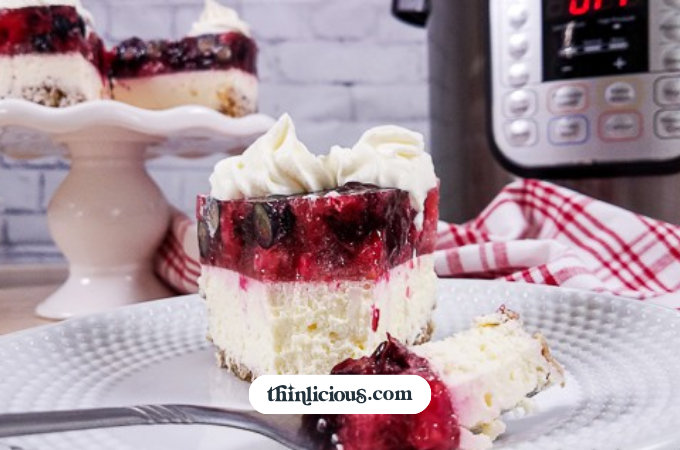
Ingredients you need
Instant Pot cheesecakes are brilliant to make in the summer when you don’t want to be baking in the warmer weather. With a few simple low-carb ingredients, you can make this healthy dessert.
All ingredients and quantities are in the printable recipe below.
Cheesecake crust (gluten-free)
- Walnuts
- Sweetener – use your favorite sugar replacer and ad more or less to your taste
- Butter – unsalted butter or salted butter.
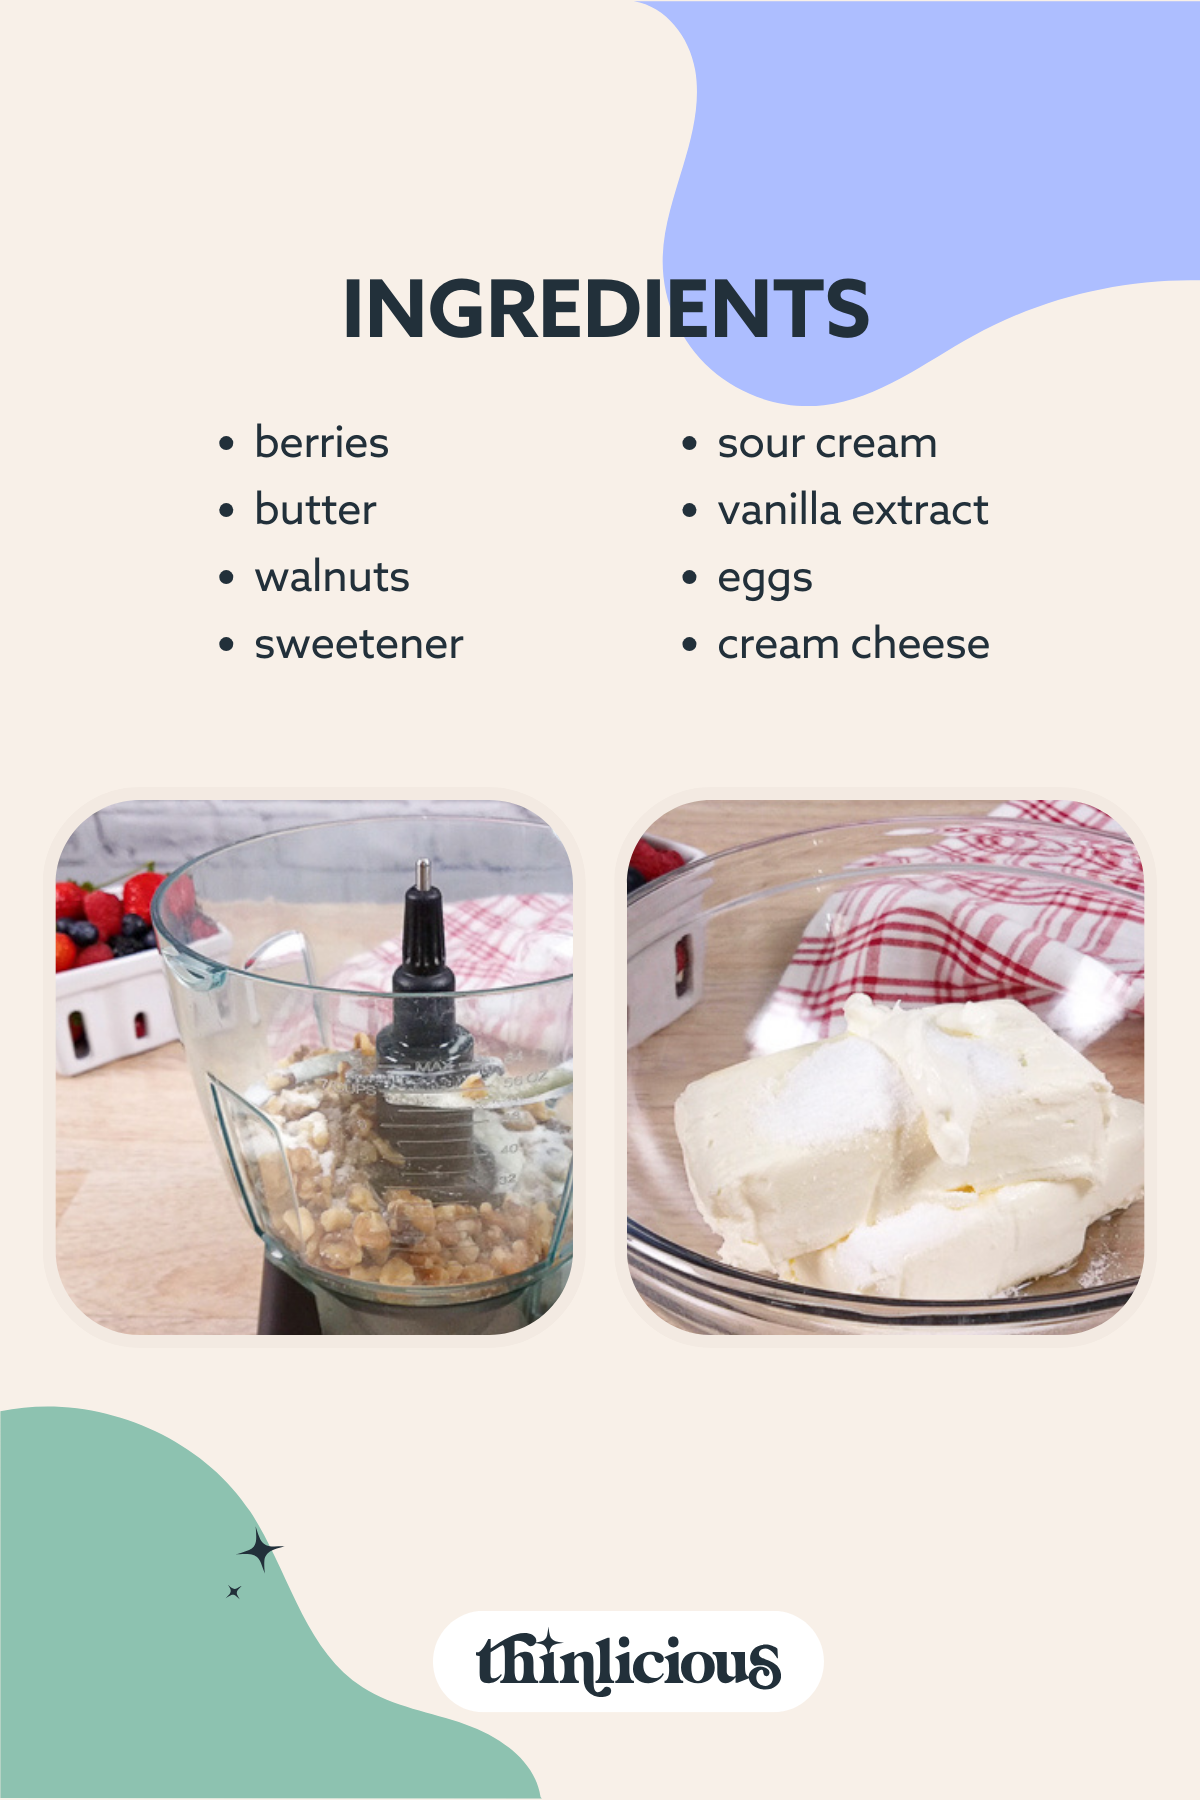
Cheesecake filling (sugar-free)
- Cream cheese – use full fat, not spreadable, low-fat, or lite.
- Eggs – medium fresh eggs, not egg replacers.
- Vanilla extract – or vanilla essence
- Sweetener
- Sour cream – or mascarpone cheese
Berry Topping
You can buy all the different varieties of fresh berries or frozen berries, or to make it easy, buy a bag of mixed frozen berries. They are often cheaper and easier to find when it’s not berry season.
- Strawberries – fresh or frozen
- Raspberries – fresh or frozen
- Blueberries – fresh or frozen
- Blackberries – fresh or frozen
- Gelatin – unflavoured powdered gelatin.
Why use a walnut crust?
Many regular low-carb cheesecakes will have you skip the crust and eat just the filling. While cheesecake filling is delicious, a traditional cheesecake just is not the same with a crunchy crust.
So instead of skipping the crust here, I made it with crushed walnuts in a food processor.
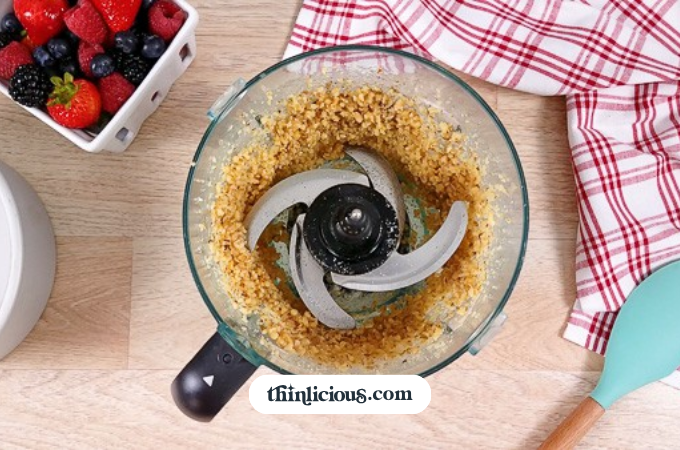
If you do not like walnuts or are allergic, you could easily substitute the walnut for a different low-carb nut like pecans or almonds. For those needing a nut-free option for the crust, I would recommend trying unsalted sunflower seeds.
For help understanding which nut or seed to choose to fit in with your carb allowance, take a peek at my Ultimate Guide to Carbs in Nuts and Seeds.
Cheesecake expert tips
There are three key tips to making a cheesecake in the Instant Pot taste great and look beautiful.
1: The first tip is to make sure your full-fat cream cheese and eggs are at room temperature. A knife or your finger should easily pass through the cream cheese.
2: The second tip is to mix the eggs into the batter one at a time on low with a hand mixer. It should only take 8-15 seconds to mix in each egg until it is no longer visible. Mixing it longer than this can lead to overbeating and your cheesecake will crack and look like it exploded out of the pan.
3: Finally, the third tip is to skip lining your cheesecake pan. Unless you meticulously line the pan with parchment paper so that it is perfectly smooth, the parchment paper will add creases to your cheesecake. So skip the lining, it is not necessary to remove the cheesecake from the pan.
How cook cheesecake in the Instant Pot
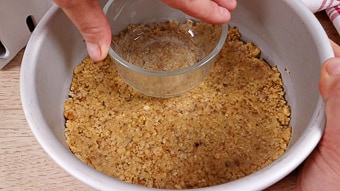
Step 1: Freeze the walnut cheesecake crust. To make this cheesecake you will want to mix the ingredients for the crust together in a food processor then press it into the bottom of a 7-inch cheesecake pan. The flat bottom of a glass will help you firmly compact the walnut crust. The crust is then placed in the freezer while the filling is made.
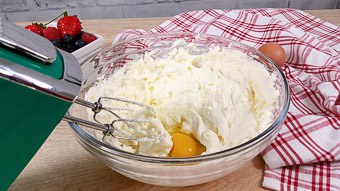
Step 2: Make the sugar-free cheesecake filling. Mix the cheesecake filling ingredients together in a large bowl with a whisk, hand beaters, or electric whisk until light and fluffy.
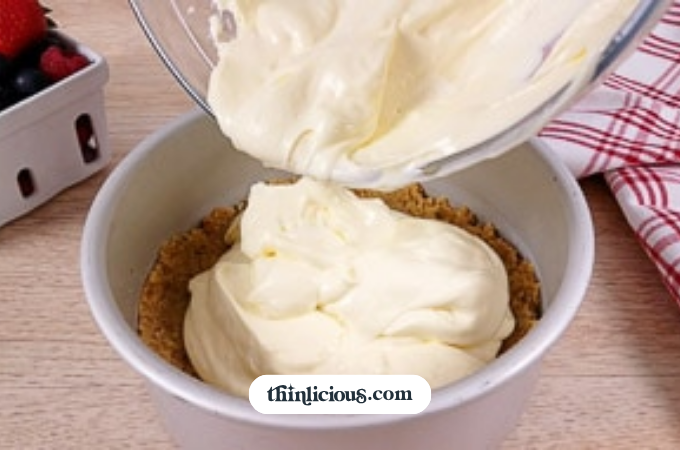
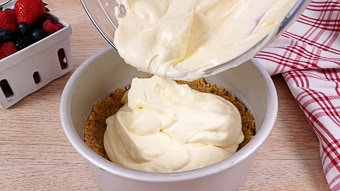
Pour the filling over the chilled walnut cheesecake crust.
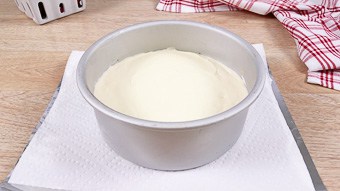
Wrap both the bottom and top of the pan with a layer of paper towels and aluminum foil.
The paper towels will absorb any liquid that tries to gather on top of the cheesecake while it is cooking.
Step 3: How to cook the berries: I like to cook the strawberries for the topping at the same time as the cheesecake. The strawberries will color and sweeten the water in the Instant Pot and then are mixed with unflavored gelatin and fresh berries.
The red strawberry liquid is what gives the berry topping that beautiful red glow.
Using a trivet lower the cheesecake into the Instant Pot. Close and lock the lid and turn the pressure valve to seal. Cook the cheesecake for 35 minutes on high pressure.
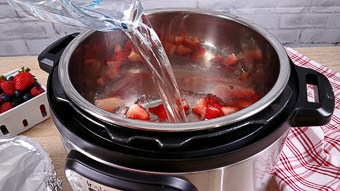
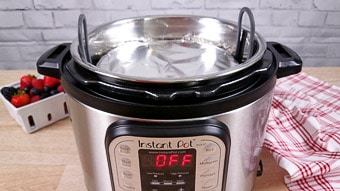
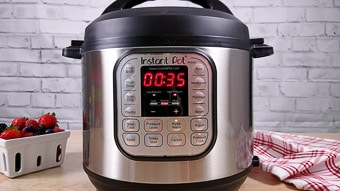
Step 4: Make the berry jelly: Drain the red strawberry liquid over the mixed berries while it is still hot.
Carefully mix or sprinkle the gelatin powder into the berries and hot liquid a little at a time so that it doesn’t go lumpy. Taste the berry jelly topping and add additional sweetener if required.
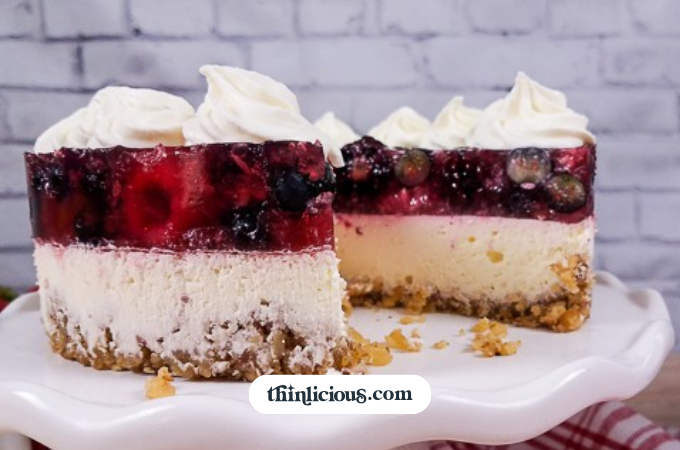
Wait until the berry mixture is cool, not hot, then pour the berries and gelatin over the cheesecake that is still in the pan. Cover with foil and refrigerate overnight.
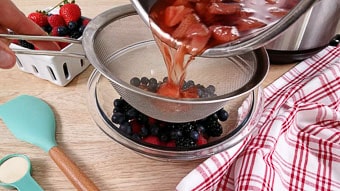
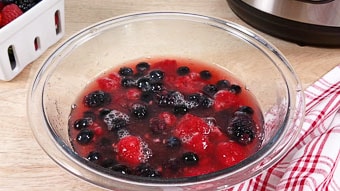
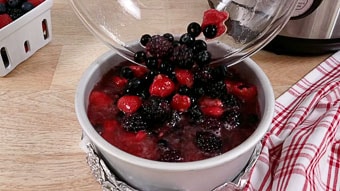
Serve the cheesecake: The next day remove the cheesecake from the pan. It’s easiest to place on top of a small coffee mug or a glass tumbler. Decorate the cheesecake with whipped cream, and enjoy!
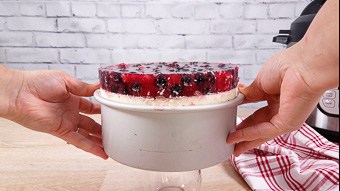
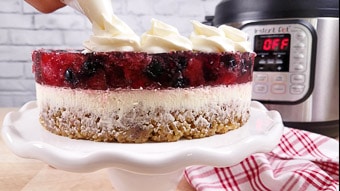
How to serve
Once the low-carb cheesecake is finished cooking, it will need to sit in the refrigerator overnight to completely firm and set before it is ready to eat.
Since everyone is at a different place in their sugar-free journey I suggest tasting the cheesecake filling and berry topping as you go. If you find it is not sweet enough add a little more sweetener until it is to your liking.
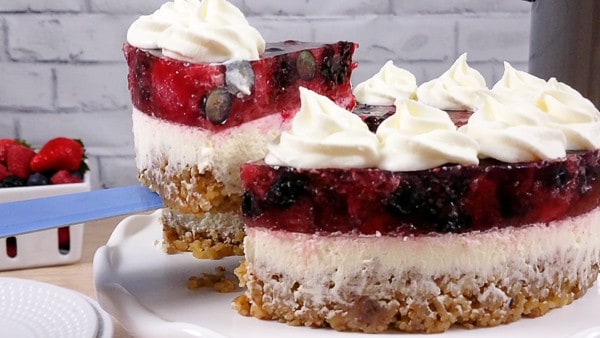
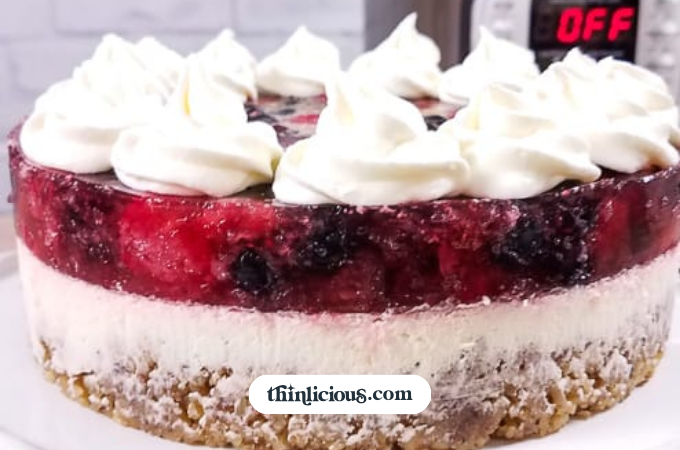
A little sweetened whipped cream adds a bit more sweetness if someone in your house still has a super-sweet tooth.
I hope you enjoy this Berry Cheesecake. Remember to taste the filling and topping as you go and sweeten as needed to fit your tastes.
Cheesecake FAQs
Pour the cheesecake filling onto your baking tin/cake tin, and tap down firmly onto a folded tea towel on the kitchen bench. Do this a few times to bring any air bubbles to the surface. Smooth the top with a spatula or the back of a spoon.
A loose bottom or springform tin is the easiest to use because the cheesecake slides straight out.
You should let the steam release slowly because the cheesecake continues to cook while under pressure and kept warm. The alternative is to cook for an extra 3-5 minutes then do a fast release.
Instant Pot cheesecakes are fast, you don’t need to heat an entire oven, the cheesecake top does not split, and it is soft, moist, and delicately delicious.
Instant Pot Low-Carb Berry Cheesecake Recipe
Equipment
- Instant Pot – Accessories Pack
- Instant Pot
Ingredients
Crust
- 100 g walnut halves/pieces
- 1 tsp granulated sweetener of choice or more to your taste
- 2 tbsp butter
Filling
- 450 g cream cheese at room temperature
- 2 eggs – medium at room temperature
- 1 tsp vanilla extract
- 4 tbsp granulated sweetener of choice or more to your taste
- 1/4 tsp salt
- 60 ml sour cream
Berry Topping
- 110 g strawberries tops removed
- 375 ml water
- 60 g raspberries
- 60 g blueberries fresh or frozen
- 60 g blackberries
- 1 tbsp powdered gelatine powder
Instructions
- Add the crust ingredients to a food processor. Pulse the walnuts for about 15-30 seconds until they are broken into small pieces.
- Scoop the walnut crust into a 7-inch round cheesecake pan. Use a spoon to spread the walnuts around and cover the bottom of the pan. Then press the walnut using glass or bowl with a flat bottom to compact the crust. Any holes will fill in while doing this.
- Place the crust in the freezer for at least 10 minutes while you make the cheesecake filling.
- In a large bowl mix together the room temperature cream cheese, vanilla, salt, sour cream and sweetener with an electric mixer or whisk. When the filling is nice and smooth taste it to see if it is sweet enough. Add more sweetener if desired.
- Next, mix the room temperature eggs into the filling ONE AT A TIME on LOW speed. Mix each egg for about 8-15 seconds if using an electric mixer. You only need to mix the filling until the egg is no longer visible.
- Pour the cheesecake filling into the crust and smooth the top out.
- Cover the top and bottom of the pan with first a layer of paper towels and then foil. The paper towels will make sure water doesn’t pool on top of the cheesecake.
- Add the strawberries and water to the bottom of the Instant pot insert. Using a trivet lower the cheesecake into the Instant Pot. Close the lid and turn the pressure valve to seal. Cook the cheesecake for 35 minutes on high pressure using the manual or pressure cook setting. Let the pressure release naturally. This will take about 30 minutes.
- Remove the cheesecake from the Instant Pot and set it aside to cool completely. While the cheesecake is cooling, mix together the blueberries, blackberries, and raspberries in a bowl.
- Strain the red strawberry liquid from the Instant Pot over the mixed berries while it is still hot. You can also blend the strawberries and liquid then pour the strawberries over the mixed berries. It is up to you.
- Carefully mix the gelatin into the berries a little at a time so that it doesn’t clump. You will want to do this while the liquid is still hot so that it will dissolve. Taste the topping and add sweetener to it if desired.
- Wait until the berry mixture is cool, not hot, then pour the berries over the cheesecake that is still in the pan. Cover with foil and refrigerate overnight. The next day remove the cheesecake from the pan, top with whipped cream, and enjoy!
Video
Nutrition
More sugar-free cheesecake recipes
If you love the idea of low-carb or keto cheesecake recipes, you’ll love these other cheesecake flavors
- 16 BEST low-carb and keto cheesecake recipes
- Chocolate and peanut cheesecake (no bake)
- Lime cheesecake (Instant Pot)
- Keto mini-cheesecakes (berry swirl)
- Sugar-Free Berry Cheesecake Ice Blocks
- No Bake Chocolate Peppermint Cheesecake Squares
- Keto Blueberry Cheesecake Squares
- Low-Carb Instant Pot Chocolate Pudding Cake
What if you could actually take control of
your health in just 10 days?
It’s not your fault you can’t lose weight as a woman over 40 even though you’ve likely tried literally everything. Your metabolism probably feels broken and your hormones are likely all out of whack.
But you can fix it all with ONE simple change: eliminate sugar. We make it super easy with daily lessons teaching you the science behind what makes us gain weight in our midlife and beyond! Are you ready to get started now?



Can you bake this in the oven instead? I don’t have an instant pot yet.
Yes, see the comments above/below 🙂
Are you able to share the temp/time for oven baking?
I would estimate to cook it for 30 minutes at 180C/350F, but that’s only an educated guess. I have only ever made this in my Instant Pot. Let me know how it goes, I’m sure others would love to know how yours works out.
You use metric and non metric measurements. Why not stick to one? Non metric is easier for me . I don’t have to use a converter. Thanks
My US readers prefer cups, and the rest of the world prefers metric. As I am a global site, I calculate ingredients for both systems to keep everyone happy. Personally, I love cooking by weight, it is far more accurate. All you have to do is press the big red buttons below each recipe to swap between cups/metric, I have done all the calculating for you – yay!
Can this be baked without an instant pot?
Yes, but the top may crack (as cheesecakes often do when baked in the oven). Remember, allow the cheesecake to cool before adding the jelly/jello layer on top.
Can I substitute the gelatin for a vegetarian option? Will pectin work?
I’ve never used pectin before so can’t comment from experience, but as long as it sets like a jelly/jello, it should work. Remember to cool the cheesecake before pouring it on top.
Any idea of the carb/calories without the berry topping?
Do you think frozen berries will work, or will they be too soft and juicy once thawed?
I use frozen berries all the time because they are so much cheaper. You may have to drain the berries before adding to the cheesecake as shown so the final resulting cheesecake/jelly/jello isn’t soggy.
Can you give bake time and oven temperature if not using the instant pot? Thank you!
the taste was awesome…well have no idea how it actually should have tasted because it was my first time ever to make a cheese cake….unfortunately it didn’t even look close to that one in the picture….
Do you need to adjust the water amount if you aren’t adding the strawberries?
Also, when you cover the cheesecake with paper towels, should it be touching the filling or be even with the top of the pan?
Thanks!
love this. how can you make t using an oven? or steaming ie without the gadget ?
Brilliant idea to cook the strawberries/water at the same time as the cheesecake in the Instant Pot!!
Thank you…Instant Pot cheesecakes have become my only way since I made the first one in an Instant Pot…no more water baths in oven and loooong low careful cooking/cooling times. You’ve added ANOTHER reason to love cheesecakes done in Instant Pot…I’m also going to try this with frozen blueberries too…deep rich colour.
again – Thank you, thank you, thank you!
Hello.
I just got done making this and I ran into a delima. I have a spring form pan for the instant pot that I used. When I went to pour the warm berry mixture onto the semi warm cheese cake the liquid came out the bottom leaving the berries on top. I poured the liquid back into a bowl and put in into the fridge to hopefully set up some before adding it to the top.
You do not state that the cheese cake needs to be completely cool either. Should I have waited till it was? I’m glad I tried it today cause my sister wants to make this for her guest on Easter.
Can you help me out please. I really want it to look like yours.
This is also why I gave it only one star. I will change that when I have success.
My berry and gelatin mixture has never gone through the sides of the cheesecake and out the bottom before, so it sounds like you possibly poured the berry mixture when it was boiling hot. I have added an additional note to the recipe in case this happens to anyone else “Wait until the berry mixture is cool, not hot, then pour the berries over the cheesecake that is still in the pan. “
I just had the same problem. I think what happened was as the cheesecake cooled it shrunk a bit allowing a small gap to appear around the sides. The liquid found its would out of the bottom ring of the spring form. In my case, everything had cooled – I think it’s just the less-than-stellar seal.
What’s the brand and name of the pan you use in the video? Having the hole on the bottom looks like it would give a better seal.
Can you explain further the part where you cover with paper towel and foil? How are you covering it on the top? Just over the top of the pan? Or touching the cheesecake? I’m making this for Easter and want it to come out perfect! Thanks!
I am getting ready to make this but just realized my IP is the 8qrt size, and my spring form pan is 8″. What adjustments do you think i should make?
this was amazing. when I took it out of the instapot the first time it wasn’t done. Possibly because of the paper towels and tin foil.so i just put it back in and cooked it on high an additional 10 min. used a 6 quart instapot duo. it looks almost as pretty too. thanks for the great recipe.
I’m allergic to walnuts, can almonds be substituted?
Just curious if anyone has tried freezing this? We tend to make cheesecake, slice it up and freeze the individual slices. wondering if it would be an epic fail with this berry top?
How high is the pan that you are using. It looks like a 3″ to me, and yet I ordered the 7″ one I ordered is only 2″ high and that seems too short to me. Before I get started I’d like to know if the berry filling will fit on the top of this cake.
One other question, can this cake be frozen?
I think your 2 inch pan will be too short, the jelly/jello mixture will overflow. I wouldn’t freeze it, it is too delicate to survive.
I have in abundance of blackberries in my freezer from my garden, could I use 290 grams of blackberries instead of the 110 strawberries and 60 each of the rest of berries. It may not look as colourful but I need to use my blackberries. Iv made jam and curd. Thanks
That’s my question exactly if you don’t have one of those cook pots how do you do the topping?
Family loved this for Chridtmss dessert. I need to add allot more sweetner as I found the cheesecake part was a little bland and tasted like cream cheese.
I didn’t use raspberries but used more blueberries and blackberries.
I also added more sweetner than suggested.
Thanks for a easy recipe, my first cheesecake and my grandson was super impressed that it was good and in my instantpot.
Where do you buy the Insta Pot?
Is the US, you can buy from my Amazon low-carb & keto store, in NZ and AUS you can buy the Russell Hobbs multi-cooker, it has exactly the same functions.
I followed the recipe to a “T” and I’m finding the fruit jello is not setting.
Do I just hope and pray that it sets over night?
Taking this to a super bowl party tomorrow.
It’s been in the frig about an hour and a half.
Gosh, I hope it set for you in time. This recipe has always set for me. Remember to never add fruit such as pineapple and kiwifruit that have enzymes that prevent gelatin from setting. I am sure you will have used berries, but FYI just in case, this was the problem. here.
Did a vegan version with vegan cream cheese and butter flavored coconut oil and it came out great! Had to make a couple adjustments on measurements as I went. Haven’t tasted it yet. Got to go to the store to grab me some almond whjpped cream to put on top I went with the blending the strawberries and water. The flavor of the cream cheese is super strong so I had to add a lot of erythitol. Thank you will let you know how it tastes!
Hey, thank you so much Markesha for your vegan version. It’s so wonderful to hear how everyone adapts and tweaks my recipes to their own likings/tolerances/dietary requirements. Please come back and let me know how it tasted – yummo!
Unfortunately my instapot stopped working. Is it possible to make this in the oven. If so do you know the temp, cook time etc
Yes, you can make the base as described then bake at 180C/350F for 15 minutes (or until baked and slightly browned) then add the cheesecake filing, bake for another 15-20 minutes. Allow the cheesecake to cool completely then add the jelly topping.
If you are cooking the strawberries in a pot how much water and for how long please
I made this recipe quite a while ago and found it easy to make – great instructions – Very tasty – and it has a beautiful presentation!! I also make my own whipped cream and that with a few extra berries was just lovely.
Now that I’m here – I see another recipe I don’t remember seeing in the past. Yayyy, more cheesecake in my future 🙂
I made an instant pot cheesecake before and it came out very soggy. I did wrap the top of it with a paper towel and aluminum foil but not the bottom. Would it be OK to wrap the entire pan with these to keep all the excess moisture out?