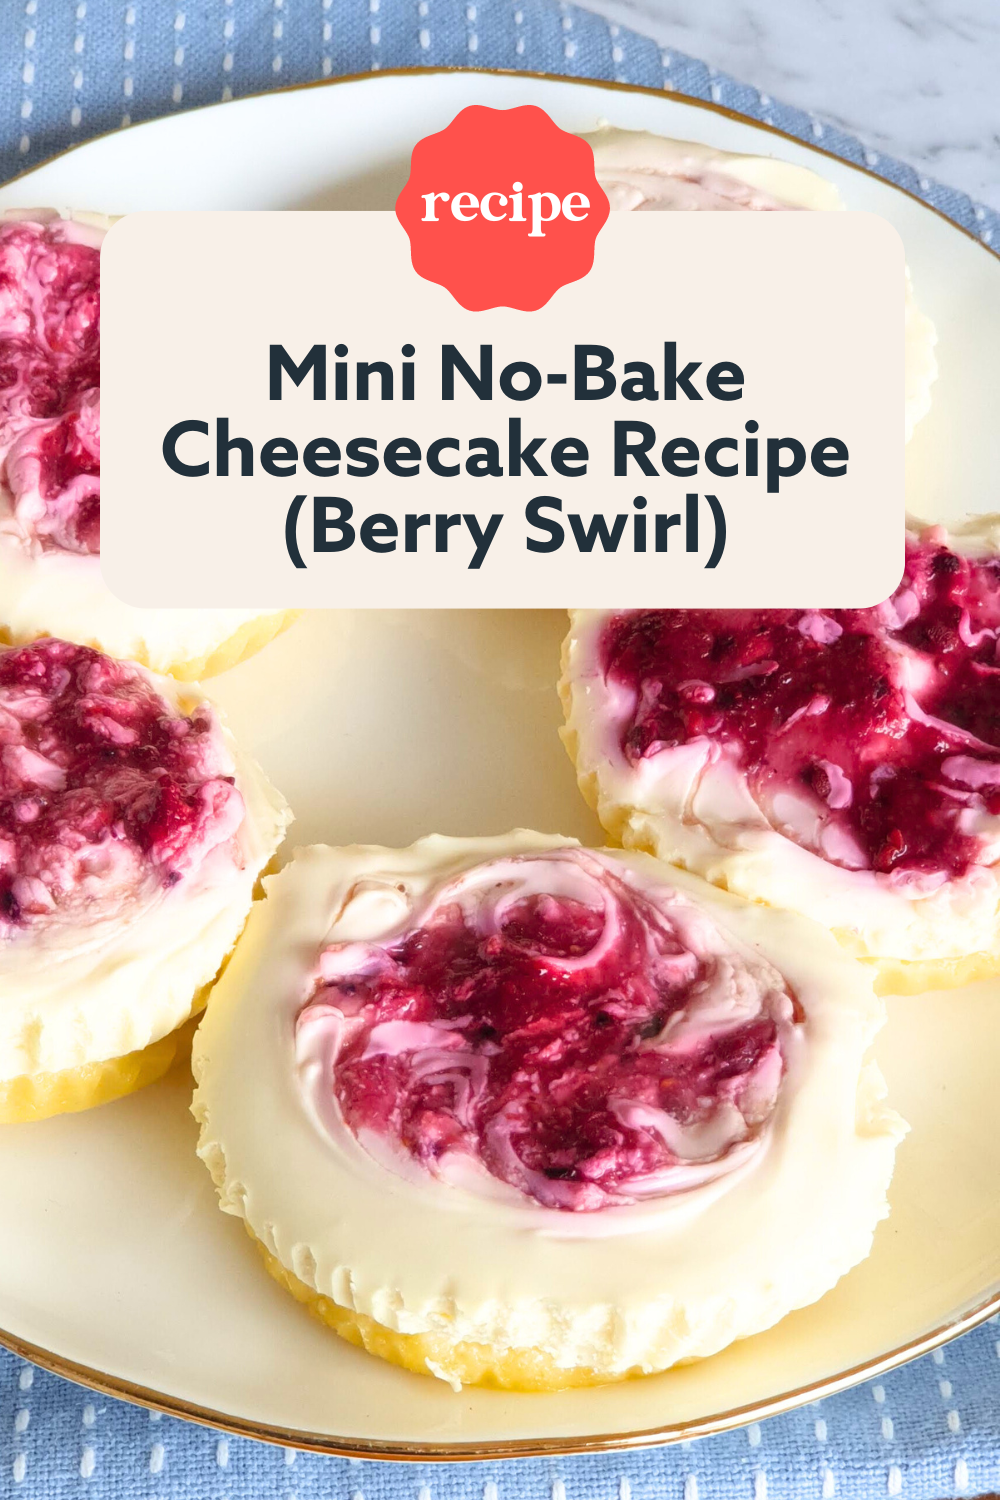
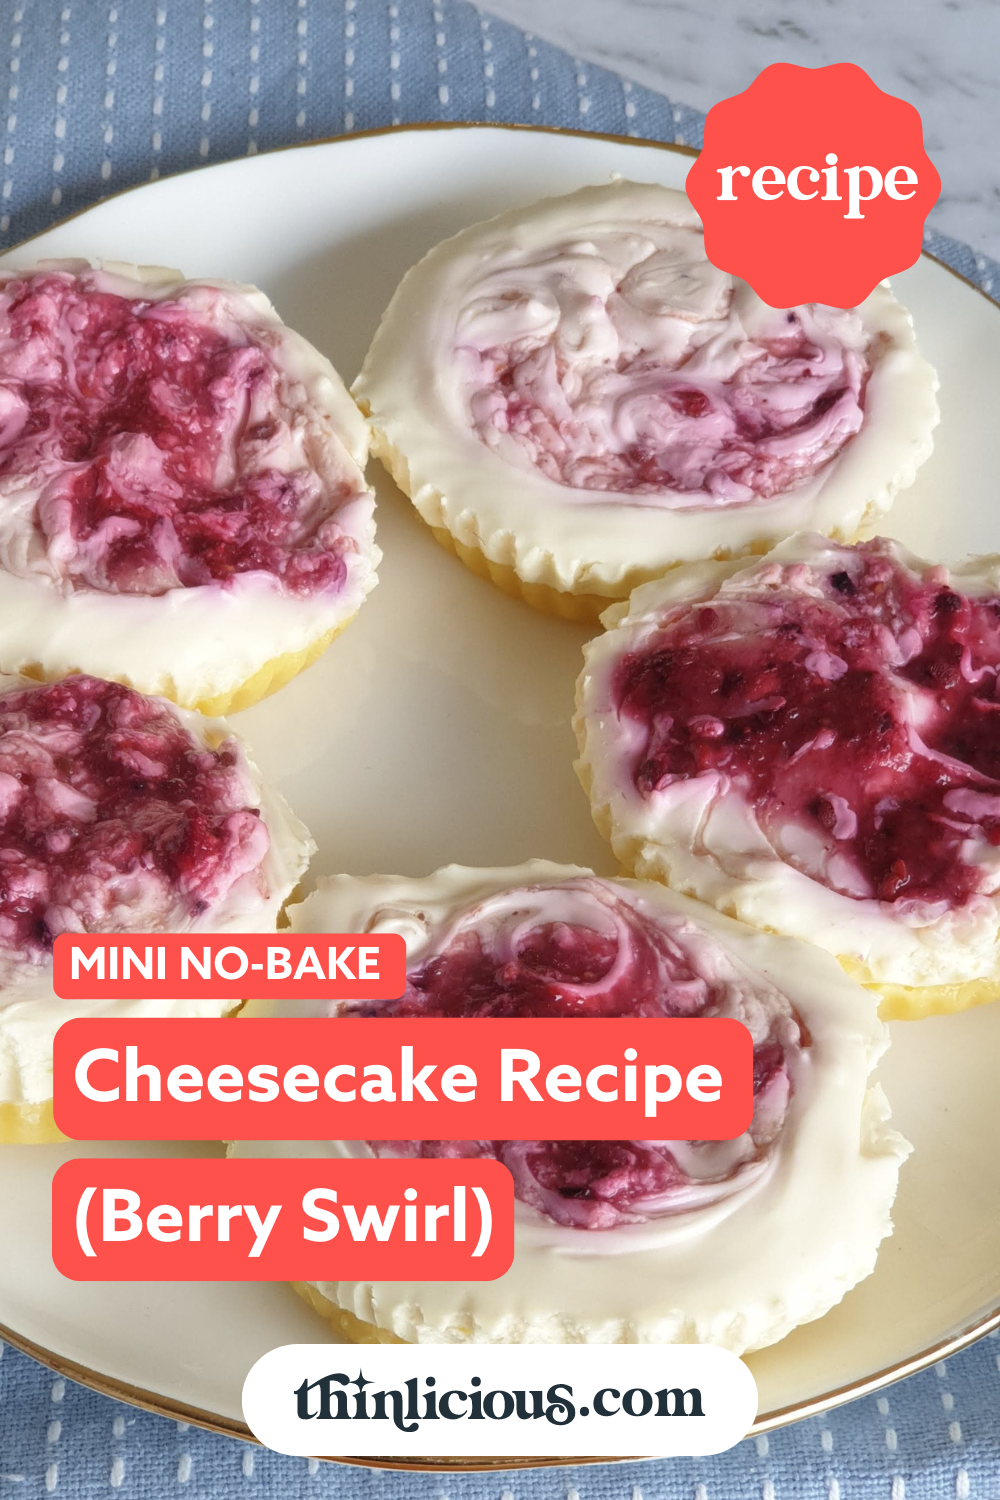
The best and easiest MINI keto no bake cheesecake recipe (berry swirl) – can be prepared in only 20 minutes. Everyone LOVES the rich, soft, unbelievably creamy cheesecake!
This is perhaps the BEST sugar-free dessert EVER! At only 3.6g NET carbs, this makes a wonderful summer dessert when berries are abundant, or any other time you are craving cheesecake.
I like the mini size as well for this no bake sugar free dessert. This is the perfect portion control when you can’t don’t feel strong enough to resist a full-sized cheesecake. Instead, make a batch of these and keep them in the freezer. Enjoy one at a time and stay in your carb range!
Will cheesecake kick you out of ketosis?
If you want to stay on your keto diet, regular high sugar cheesecakes should always be avoided. Just one serving of Cheesecake Factory traditional cheesecake gives you:
Are you ready to lose weight and heal your body for life (without dieting, drugs, or making yourself miserable)?
Our free on-demand video training will walk you through how to make this THE year you set health goals…and keep them.
- Red Raspberry cheesecake = 80g net carbs, 66g sugar and 1000 cal
- Oreo® Dream Extreme cheesecake = 171g net carbs, 133g sugar and 1600 cal
Nutrition values from Cheesecake Factory “Values are derived from standardized recipes and serving sizes”
Low-carb and keto cheesecakes will not knock you out of ketosis if you are strict with your portion control and you are able to stay within your daily carb limit.
But if you make this sugar-free homemade cheesecake recipe, it is only 3.9g net carbs, 2g sugar and 280 calories.
What are mini keto (no bake) cheesecakes?
I’m a huge fan or portion controlled desserts. These baby cheesecakes will soon become your new favorite dessert and a great way to stop sugar cravings.
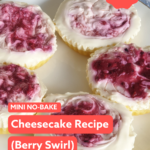
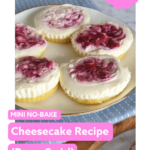
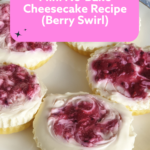
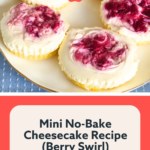
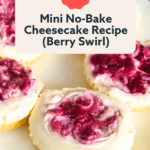
These are simple sugar-free, gluten-free, low-carb cheesecakes that don’t need to be cooked in the oven. The cheesecake filling is a light and fluffy vanilla cheesecake mousse with whipping cream and cream cheese. They are beautiful and delicious treat with a berry swirl in the middle.
They can set in the refrigerator in just a few hours and can be made in muffin trays or cupcake cases. I have so many no-bake cheesecake recipes, but mini raspberry cheesecakes are especially fun for a holiday barbecue.
You don’t need any special equipment, you don’t need to whip cream until soft peaks form, you don’t need to use the oven, you don’t need to strain the berry puree and the best part … you can make them in advance before your visitors arrive.
Ingredients
All the simple ingredients to make this homemade cheesecake are probably in your fridge and pantry right now. It is sugar free, egg free, gluten free, no starches, no cornstarch, no oven or baking is required.
A simple low carb version of a graham cracker crust is used to make the perfect dessert a healthy dessert. The added ginger makes the crust look like it has brown sugar, but it’s actually sugar free.
All quantities, ingredients, and instructions are in the recipe card below.
Crust – butter, almond flour (almond meal), sugar free sweetener, and ginger (optional but delicious).
Filling – cream cheese (full fat), double cream (heavy cream), vanilla, sweetener, gelatine and water
Berry swirl – fresh or frozen berries and lemon juice.
Instructions
Before you begin, remember to make room in your fridge or freezer for your muffin trays or cupcake cases.
- Prepare your baking trays – I prefer to use a muffin tin lined with paper or silicone muffin or cupcake cases.
- Make the cheesecake crust – mix all the basic ingredients in a large bowl to create low-carb graham cracker crumbs. They should be the consistency of wet sand. Then press with the back of a dessert spoon into each cupcake or muffin case. Pop in the fridge while you make the sugar-free cheesecake filling.
- Cheesecake filling – make your vanilla cream cheese mixture using your stick blender or food processor to make it velvety smooth. Spoon the filling into each muffin case.
- Raspberry swirl – make your pureed raspberry sauce and spoon into the centre of each mini cheesecake. Swirl with a fork, knife or toothpick. Place in the fridge.
- Decorate and serve – add fresh raspberries, fresh strawberries, fresh blueberries or whipped cream (optional) on top for a special occasion.
Setting time
The setting time for homemade no bake cheesecakes is minimum of 3 hours once the entire recipe has been placed in the refrigerator. You can speed up the process by placing the berry desserts in the freezer for 1.5 hours.
In fact, I quite enjoy a frozen cheesecake. It is like a frozen dessert without the guilt. I have even frozen the cheesecake mixture (filling only without the base) in popsicle moulds. It saves so much time and is a wonderful healthy summer dessert for my children.
Top tips
To ensure the no-bake mini cheesecakes don’t stick to the paper or silicon cupcake cases, you must make sure you have allowed them to set properly in the fridge. They only ever become stuck to the wrappers if you try to remove them too quickly after making them.
The gelatine needs to set entirely and the almond flour crust needs to harden with the melted butter and sweetener.
If you add too much of the berry puree into the center, it may collapse or sink a little bit. It’s easy to hide with whipped cream using a piping bag and another raspberry to decorate.
To easily divide the cream cheese mix between the muffin tray, use an ice cream scoop or dessert spoon.
How to cut the carbs
The wonderful thing about little cheesecakes, is that they are instant portion control. This keto no bake cheesecake is a perfect size. They stop you from accidentally cutting a larger slice of cheesecake than you need. At only 3.9g net carbs per dessert, they are extremely low-carb.
You can actually make these sweet little single-serve cheesecakes without a crust. If you make them without a base, the cheesecake turns into a lovely firm mousse that can be eaten on its own.
You can also omit the sugar-free berry sauce and drizzle some sugar-free chocolate on top of the vanilla filling instead. There is no added sugar in this recipe, only a small amount comes from the fresh fruit (the berries).
Substitutions
All quantities, ingredients, and instructions are in the recipe card below.
- Cream cheese – you must use the full fat blocks of cream cheese. The spreadable cream cheese will not set and you’ll end up with a soggy soft mess. To make it easier to blend, you can use room temperature cream cheese, but I just use it straight from the fridge.
- Heavy cream – you could use sour cream or Greek yoghurt to add a tangy taste.
- Sweetener – use your preferred sweetener. I like to use erythritol but you may prefer stevia, xylitol or monk fruit.
- Vanilla – you could add any of these flavors instead of the 1 teaspoon vanilla extract. Lemon zest, orange essence, peppermint essence
- Berry swirl – you can your favorite fresh berries or frozen berries. Why not use lemon curd or chocolate ganache? You could even stir through some sugar-free chocolate chips. Use fresh blueberries to make a blueberry sauce. However, always adjust the nutrition information using the carbs in fresh fruit.
Equipment
You only need a stick blender, hand mixer or food processor for this easy recipe. This will help the mixture to be lump free. You need to be able to mix the mousse-like filling to be smooth, velvety and creamy. For best results, remember to use a rubber spatula (rubber scraper) to scrape down the sides of the mixing bowl.
If you don’t have any cupcake liners (or muffin cases) then why not use a small glass jar such as mini mason jars? They make beautiful individual servings and are delightful to give to guests at a special holiday family meal or summer barbecue.
Use a small bowl, or tall jar, to make the fresh berry sauce and the stick blender. You don’t need to strain for seeds as they will have been pureed into the sauce.
Storage
You can make these easy desserts ahead of time. Just keep them in an airtight container for up to 3 days in the fridge or in an airtight container in the freezer for up to one month.
You can cover them with plastic wrap but there is a chance the plastic wrap will stick to the top of the desserts.
They can be served frozen, chilled or at room temperature. Don’t heat these up! They cannot be served warmed or heated.
Mini Berry Cheesecakes Recipe (no bake)
Equipment
- Cupcake tray
- Measuring cups and spoons
- Mixing Bowls
- Stick Blender
Ingredients
No Bake Cheesecake Crust
- 1 stick butter melted
- 1 cup almond meal/flour
- 2 tbsp granulated sweetener of choice or more, to your taste
- 2 tsp ground ginger
- pinch salt
No Bake Cheesecake Filling
- 8 oz cream cheese full fat
- ½ cup heavy whipping cream
- 4 tbsp granulated sweetener of choice or more, to your taste
- 1 tsp vanilla extract
- 1 tbsp powdered gelatine
- ¼ cup boiling water
Berry Swirl
- 1 cup berries fresh or frozen
- 2 tsp lemon juice
Instructions
No Bake Cheesecake Crust
- Mix all the cheesecake crust ingredients together and press into each lined cupcake case.
- Place in the fridge while you are making the cheesecake filling.
No Bake Cheesecake Filling
- Mix the cream cheese, cream, sweetener and vanilla together until smooth and lump free. You can use a food processor, a stick blender or an electric hand mixer.
- Pour the hot water into a small heat proof jug. Sprinkle the gelatin powder into the boiling water and whisk with a fork until the gelatin has dissolved.
- Pour the gelatin mixture into the cream cheese filling and mix until fully incorporated. Pour into the lined cupcake cases (on top of the cooled cheesecake crust).
Berry Swirl
- Puree the berries and lemon juice using a stick blender or food processor. Adjust the sweetness with sweetener if desired.
- Place 1 tbsp of berry puree into each cupcake filled with cheesecake filling and swirl with a toothpick or fork.
- Place the finished mini berry cheesecakes back into the fridge for a minimum of 3 hours to completely set.
- Serve and garnish with extra berry puree and whipped cream.
Nutrition
What if you could actually take control of
your health in just 10 days?
It’s not your fault you can’t lose weight as a woman over 40 even though you’ve likely tried literally everything. Your metabolism probably feels broken and your hormones are likely all out of whack.
But you can fix it all with ONE simple change: eliminate sugar. We make it super easy with daily lessons teaching you the science behind what makes us gain weight in our midlife and beyond! Are you ready to get started now?

These look adorable AND the perfect single serve sugar-free cheesecake to keep my freezer. Thank you Libby for another yummy low-carb recipe.
Can I make this cheesecake in round form? How to change the proportion?
Yes, you can. The portions would stay the same. However, the chill time would change. It will take longer for a whole cheesecake to set than mini ones. I would recommend chilling for at least 8 hours, preferably overnight.